Chelsea Sugar Celebration Cookies Recipe

Recipe Information
Celebration Cookies
Preheat oven to 190ºC conventional. Line 2-3 large baking trays with baking paper.
Using an electric beater, cream butter, sugar and vanilla together until pale and fluffy.
Beat in the egg and lemon zest.
Sift in flour, rice flour and baking powder and mix with a spatula until well combined.
If dough is quite soft, chill for 30 minutes before using (usually only necessary in warm weather).
Dust a large clean work surface with flour, and flour a rolling pin too.
Take a large piece of the dough and roll out to 4-5mm thick.
Alternatively, you can roll the dough out between two large pieces of baking paper (slightly less messy!).
Use cookie cutters to cut into desired shapes.
Carefully transfer to one of the prepared trays.
Bake for 10-12 minutes, until cookies are lightly golden and crisp.
Cool on tray for a few minutes before transferring to a wire rack to cool completely.
Repeat to use up remaining dough.
Place egg whites in a medium-large bowl and whisk vigorously with a fork until frothy.
Sift in icing sugar, then add lemon juice and mix with a spatula until you have a pipeable icing.
You can test for the correct consistency of icing by dragging a knife over the surface.
If the surface smoothes over in approximately 10 seconds, the icing is at the right consistency.
Mix in water in very small quantities, until this consistency is achieved.
Divide the icing up into small bowls (one bowl per colour you wish to make).
Mix a small quantity of food colouring into each bowl until you have your chosen colours (noting that the colour will darken a little over time).
Transfer icing to piping bags fitted with small round piping tips (Wilton #2 or #3).
Seal the top ends of the bags closed with bag clips/ties.
Pipe an outline of icing onto a cookie, around the area you wish to fill.
Once you have started the outline, lift the piping bag further away from the cookie so that the icing falls onto the surface, rather than being dragged across (it’s easier to control this way).
Pipe extra icing within the outline to fill the area, then tidy up with a cookie pick or toothpick.
Add sprinkles or other decorations, if using.
Repeat with remaining cookies.
Allow icing to dry completely before adding other colours/layers next to or on top of previous layers. This usually takes at least 2 hours.
You can speed up the drying process by placing a gentle fan next to the cookies.
Once you have finished decorating, allow the cookies to dry completely before packaging or storing in airtight containers.
Equipment Needed
Spice Level:
🌶️🌶️🌶️Similar XX Videos
(24 videos)
Kick Off The Weekend With Our Salted Caramel Espresso Martini | delicious. Australia
delicious. Australia
Blueberry Lemon Pikelets (New Zealand)
My Hungry Family
Louise Cake - Quick & Easy
Geoff Cooper

Baked Apple Rings | Gebackene Apfelringe | Original Austrian Recipe
Strudel & Schnitzel – Enjoy the Taste of Austria

New Zealand Kiwi Ratatouille Recipe with Chef Ranveer Brar
Love Food
West Coast Whitebait Fry Up with Ben Bayly
Westgold

HOW TO MAKE BOIL UP AND FRIED BREAD | Happy Māori Language Week
Veni Vlogs
Puha / Watercress Māori Boil Up
Weka Digital Media NZ

Boil Up with Smoked Pork Bones | SouthSideBBQ
SouthSide BBQ Crew

Mek Wi Talk Food – Boil Up
Belikin Beer

Boil Up - Cooking with Flavors of Belize and Chef Sean Kuylen
Flavors of Belize (Belize Cooking)
Easy Swedish Quick Pickled Cucumbers | 5 ingredient Quick Pickled Cucumbers
Our Table 4 2
"Te Tuae"
jkb1904

New Zealand Rack of Lamb | EP 056
REKA Ventures
Chocolate Trifle | Holiday Dessert | #vlogmas2023 Day 8
Farmers Wife Homestead

NZ Afghan Biscuits - chocolaty, crunchy and sweet New Zealand favourite
Mumma Katie's Kitchen

"Discover the Secret to Making the Best New Zealand Seafood Pie at Home!"
Meals with Milz
NZ has the best pies in the world! Mince & Cheese Pie recipe
Matt Reynecke
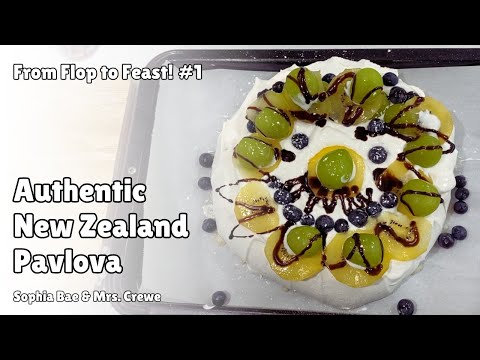
How to Make Authentic New Zealand Pavlova
Daegu International School DISTV

Grace And You Cooking Show Caricom Belize Semi Boil Up
GraceKennedy (Belize) Limited

Creamiest Hasselback Potato Bake
Foodies of South Africa

Homemade Dried Fruit Jam: Pears & Cinnamon (Easy Healthy Jam | Woodfood Kitchen)
woodfood: food and nutrition
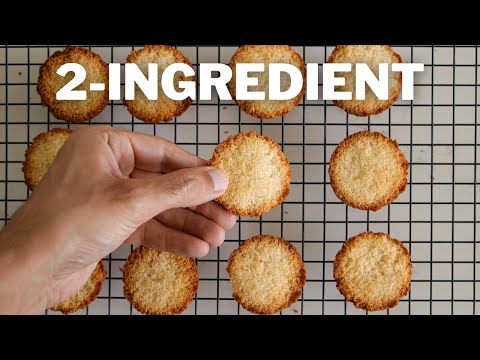
2-Ingredient Coconut Cookies Recipe
The Cooking Foodie

Ava eats New Zealand (Global Table Adventure)
globaltable
Similar Desserts From Other Cuisines
(24 videos)
6 Crazy Easy NO-BAKE Desserts with Just 3 Ingredients (So Fun & Delicious!) | Summer Recipes
Patterson Family Home
Recipe: Summer Berry Terrine (CLOVER)
ExpressoRecipes

Apple Fritter Doughnuts
Laura in the Kitchen
Peanut Butter Cookies
Omar Tellow
Pineapple Upside Down Cake | New Year Party Recipe | By Ashley Derick MacDonald | For Cuisine Canvas
Cuisine Canvas

German Desserts - 9 Delicious German Desserts That You Need To Try!
German Recipes by All Tastes German
Boston Cream Pie
Preppy Kitchen
Tiramisu
Preppy Kitchen
Professional Baker Teaches You How To Make CHOCOLATE CHIP COOKIES!
Oh Yum with Anna Olson

10 Recipes To Sweeten The Holiday Season
Scrumdiddlyumptious

Peach Cobbler
Preppy Kitchen

5 Classic American Desserts You Must Try at Home! 🇺🇸🍰 #delicious_delights #dessert
Delicious Delights
{Recette Omnicuiseur} Riz au lait
Le Pays des Gourmandises
RECETTE RIZ AU LAIT
Saad Fedda
Recette culte : Riz au lait de l'Ami Jean - 750g
750g

Riz au lait - saveur d’enfance - au lait végétal -
Mimagusta
~RIZ AU LAIT vanille ~ dessert allégé en sucre inratable |Recettes & diététique
Recettes & Diététique

Recette Riz au lait Gastronomique
Allez on cuisine
Riz au lait au Cookeo
Lili Cuisine

#1àZ : MON RIZ AU LAIT
Xavier Pincemin
Gâteau au yaourt - 10 leçons pour le réussir
Julie Andrieu - Chaîne officielle
BEIGNETS FRITS Recette facile - Fait maison
kado cuisine
Gâteau au yaourt en 1 minute . Bon et moelleux. Recette facile et rapide
Les délices de Maha
Mousse à la pêche par Pierre-Dominique Cécillon pour Larousse Cuisine
LarousseCuisine