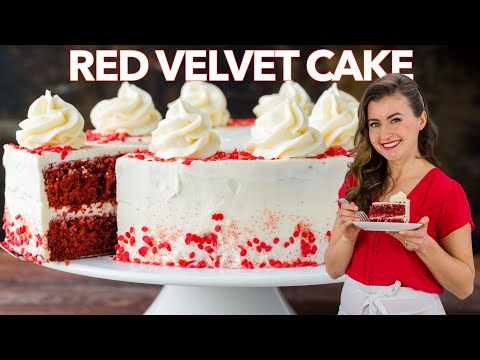
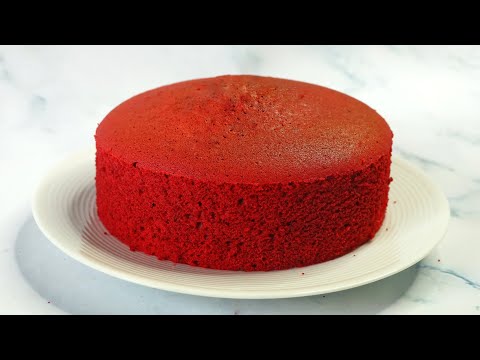
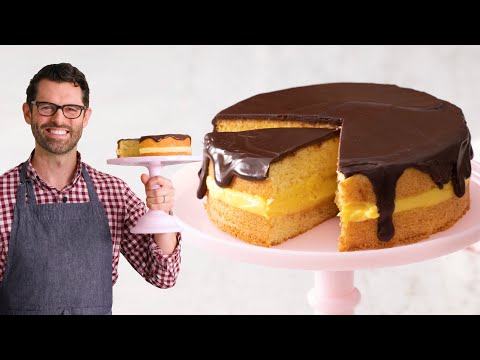
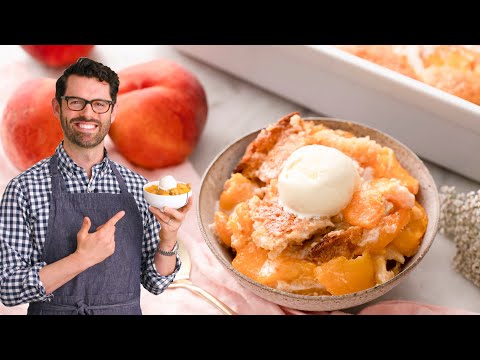
BEST Red Velvet Cake (Very Soft, Moist & EASY!)

Recipe Information
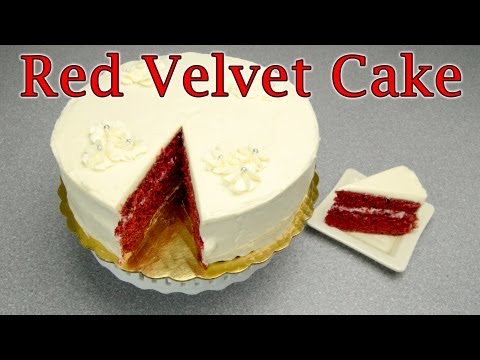
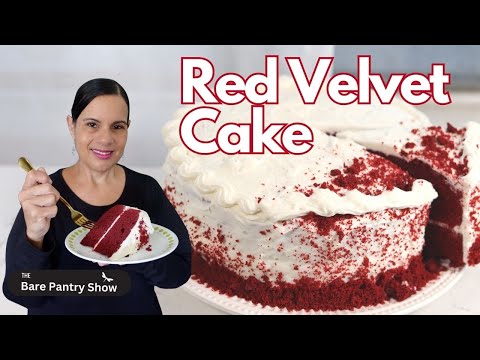
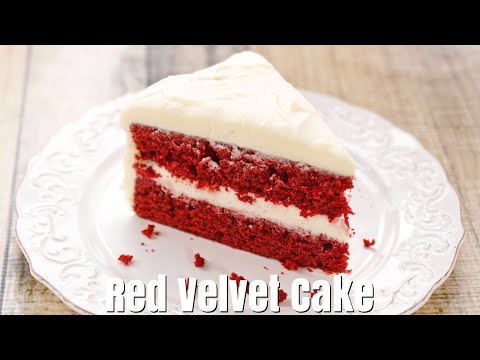
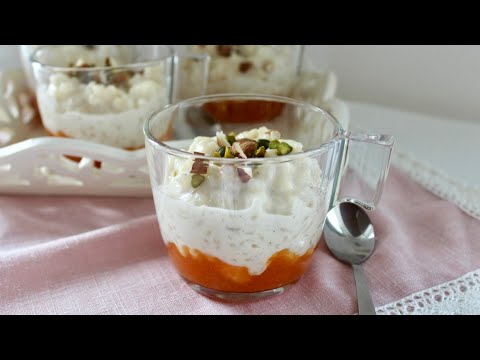
Red Velvet Cake
Cultural Context
Red Velvet Cake has its origins in the Southern United States, gaining popularity in the 1920s. This visually striking dessert is often associated with special occasions and celebrations, symbolizing love and festivity. Its unique flavor profile, a combination of cocoa and buttermilk, paired with the creamy frosting, makes it a beloved choice for birthdays and holidays. Today, variations abound, including cupcakes and layer cakes, enjoyed by many around the world.
Quantities are estimated based on standard recipes for your convenience. The actual ingredients used in this video are accurate.
buttermilk
🥗Healthier: low-fat yogurt
💰Cheaper: milk + vinegar
Low-fat yogurt provides tanginess with fewer calories.
cream cheese
🥗Healthier: Greek yogurt
💰Cheaper: ricotta cheese
Greek yogurt offers creaminess with lower fat.
red food coloring
🥗Healthier: beet juice
💰Cheaper: none
Beet juice is a natural alternative for color.
butter
🥗Healthier: coconut oil
💰Cheaper: margarine
Coconut oil is plant-based and dairy-free.
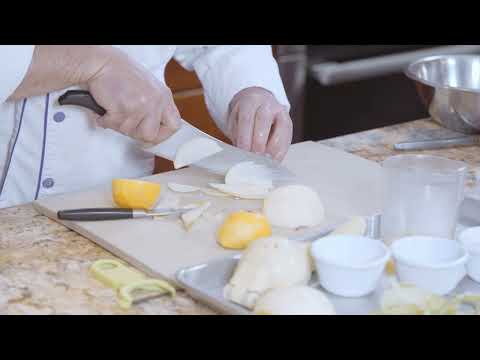
Coat a thin layer of butter on the bottom of the pan and attach parchment paper as a cake liner.
In a bowl, add all the dry ingredients: all-purpose flour, baking soda, baking powder, salt, cocoa powder, and granulated sugar. Whisk them together until well combined and set aside.
In a separate bowl, add wet ingredients: eggs, olive oil, whole milk, white vinegar, vanilla extract, and red food coloring. Apply a little oil on the teaspoon for easy removal of the gel paste coloring. Whisk until well combined.
Add the dry ingredients to the wet mixture and mix until very smooth.
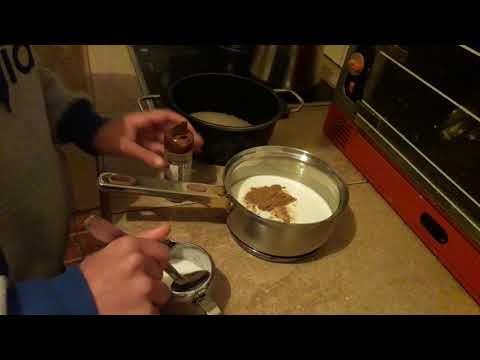
In a small pot, add milk and butter. Heat at medium heat until the milk starts simmering gently, mixing occasionally to prevent overflow. Once simmering, remove from heat and add 1/3 to half of the liquid into the cake batter, mixing gently to avoid spills. Then add the remaining liquid and mix until well combined.
Scrape the sides and bottom of the bowl to ensure everything is evenly incorporated. Pour the batter into the prepared pans.
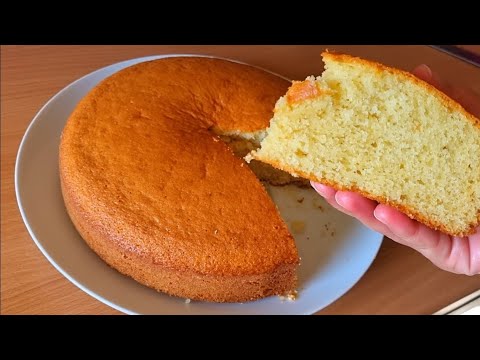
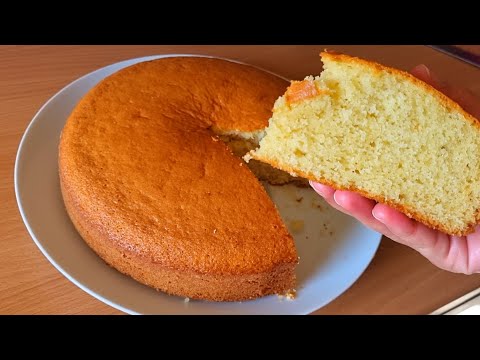
Bake in the preheated oven until the top bounces back gently when touched and a toothpick comes out clean with a few crumbs when inserted in the center.
Once baked, set the cake aside to cool completely. Detach the sides using a small cake spatula, flip, and take off the pan. Optionally, trim the top to make it more even. Bake the cake trimmings at 300°F for about 15 minutes until dried and crush them into smaller pieces for decoration.
To make the frosting, whip soft butter, powdered sugar, and salt at medium to medium-high speed until fluffy for about 5 minutes. Add cold cream cheese that has been left at room temperature for about 15 minutes, and whip at high speed until evenly combined. Whip longer for a fluffier frosting, and for a stiffer frosting, double the amount of butter.
Spread a big scoop of frosting on the top of one cake layer, place the second layer on top, and spread another big scoop of frosting evenly over the surface. This is the crumb coat, which should be thin to seal the cake and prevent crumbs from coming out during the final coat. If the frosting gets too soft, chill it in the fridge for a while before finishing the final coat and decoration.
Decorate the cake as desired, using a cake spatula for a rustic look. Chill the cake in the fridge if needed before decorating to prevent the frosting from getting squished. Store the cake tightly wrapped in the fridge, but allow it to sit at room temperature for a while before serving for a fluffier texture.
Cooking Techniques
Equipment Needed
Spice Level:
🌶️🌶️🌶️Dietary
Allergens
Also Known As
More Red Velvet Cake Videos
(24 videos)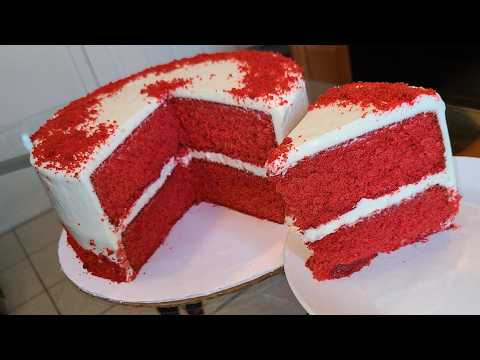
Red Velvet cake with a sweet cream cheese frosting | A classic Southern cake
Charlie Andrews
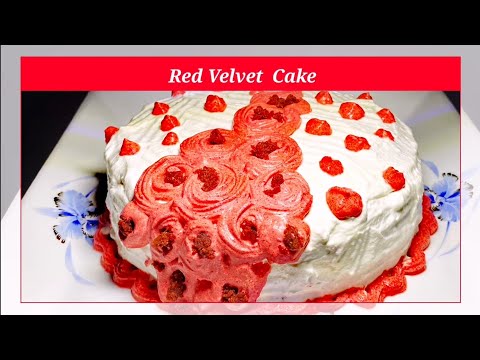
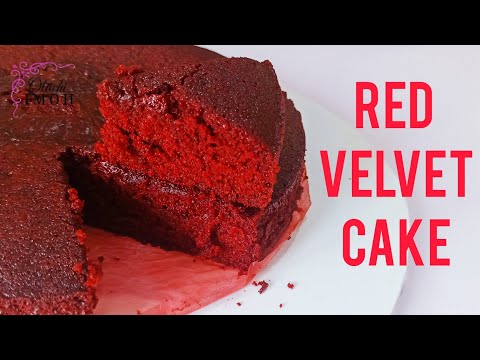
Red Velvet Cake | Birthday Cake | Cream Cheese Frosting Red Velvet Cake
Reels by Samia
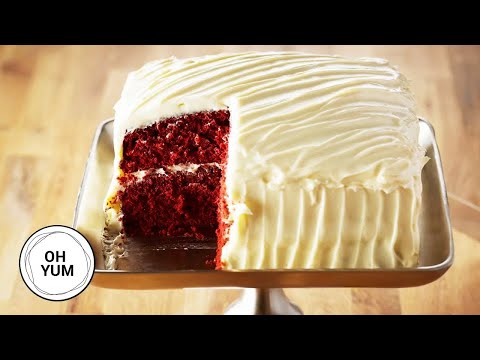
Professional Baker Teaches You How To Make RED VELVET CAKE!
Oh Yum with Anna Olson
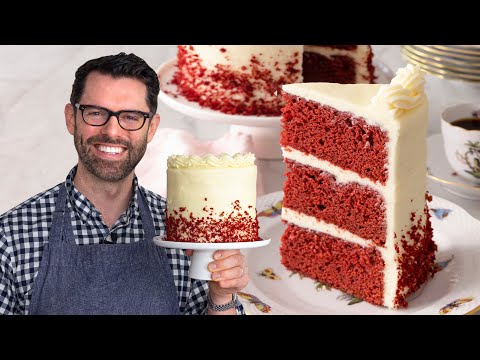
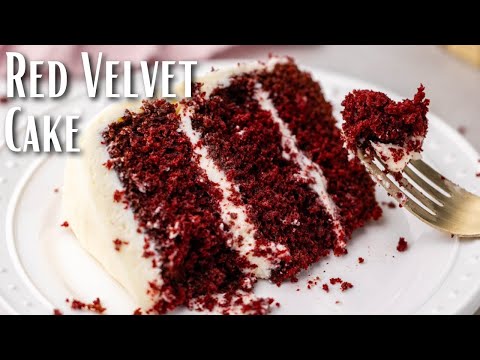
The Best Red Velvet Cake Recipe
Preppy Kitchen
RED VELVET CAKE RECIPE with Cream Cheese Frosting
Natashas Kitchen
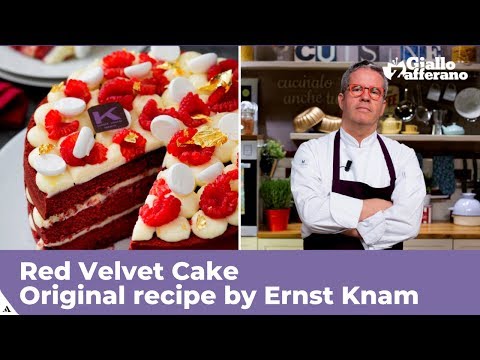
RED VELVET CAKE - Original recipe
Giallozafferano Italian Recipes
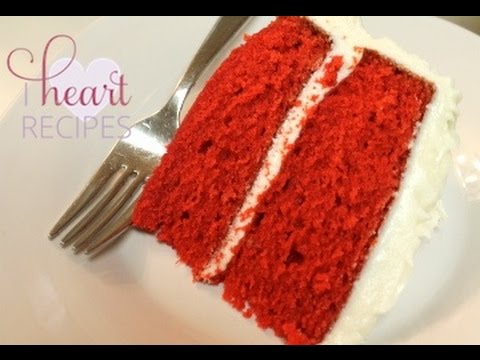
Best Red Velvet Cake Recipe | I Heart Recipes
I Heart Recipes

Red Velvet Cake Recipe - How to Make Red Velvet Cake
Emma's Goodies

Sweet Julia | Red Velvet Recipe
Julia Baker
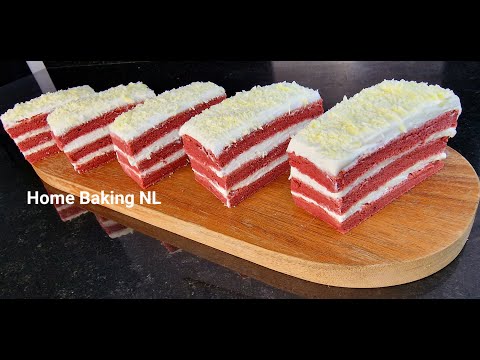
The Best Red Velvet Cake Recipe/ Soft & Fluffy
Home baking NL
How to Make Red Velvet Cake: Red Velvet Cake Recipe by Cookies Cupcakes and Cardio
Cookies Cupcakes and Cardio

Red Velvet Cake | Sally's Baking
Sally's Baking Recipes
How to Make Red Velvet Cake
At Home with Mrs Joan

Red Velvet Cake Recipe
Sugar and Sparrow
Red Velvet Cake Recipe - Laura Vitale - Laura in the Kitchen Episode 602
Laura in the Kitchen
Homemade Red Velvet Cake Recipe with Claire Saffitz | Dessert Person
Claire Saffitz x Dessert Person
The Most Moist Red Velvet Cake | No Buttermilk..No Vinegar
The Bare Pantry Show
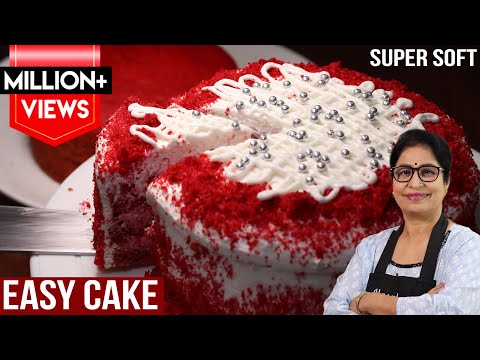
Red Velvet Cake बेकरी जैसा रेड वेलवेट केक बनाने का तरीका | न अंडा न ओवन न सिरका न बटर l Easy Cake
Masala Kitchen
Betty Crocker’s Red Velvet Cake With Cream Cheese Frosting-How To Make Cake - Simple Cooking Videos
Fadi Salam فادي سلام
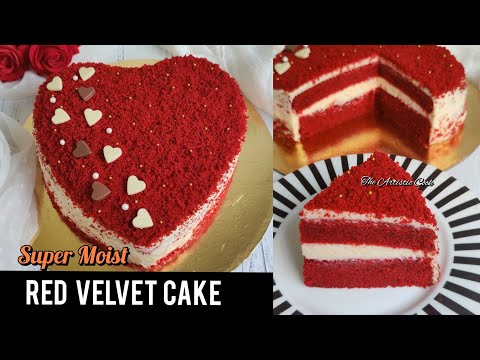
Red Velvet Cake Recipe | Red Velvet Cake with Cream Cheese Frosting | How to make Red Velvet Cake
The Artistic Cook
Basic Red Velvet Sponge Cake Recipe | How To Make Red Velvet Cake Without Butter | Cake Fusion
Cooking Fusion
SUPER EASY DECADENT RED VELVET CAKE recipe. #redvelvetcake #easyredvelvetcake #redvelvetrecipe
Oluchi Imoh
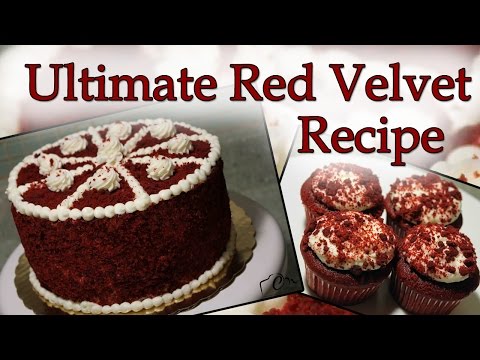
Ultimate Red Velvet Recipe
Baking Savvy
How to Make The Most Amazing Red Velvet Cake
The Stay At Home Chef
Similar American Videos
(24 videos)
Batch Prepped SLOW COOKER RECIPES for an easier week
moon + magnolia

Honey Mustard Chicken Recipe
Jen Cooking
Steamed Zucchini - Bravo Charlie's Episode 23
Charlie Moore
How to make MACARONI SALAD by Kelly Henry #macaronisalad #pastarecipes #veggierecipes
Kelly's Kuisine

Dorito Taco Salad -- Throwback Video Series
Southern Country Living
Sausage Hash Brown Breakfast Casserole
Smokin' & Grillin with AB

Apple Fritter Doughnuts
Laura in the Kitchen

Crab Bisque
Dirty Spoons
Apple Cranberry Pecan Salad
Arabesque Media
Peanut Butter Cookies
Omar Tellow
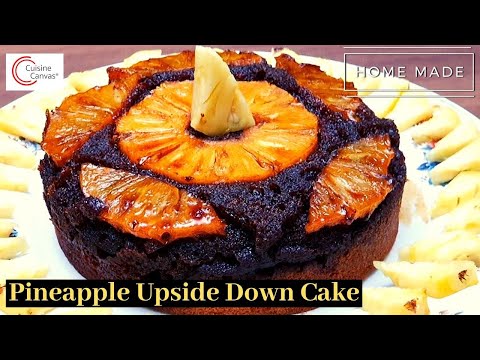
Pineapple Upside Down Cake | New Year Party Recipe | By Ashley Derick MacDonald | For Cuisine Canvas
Cuisine Canvas
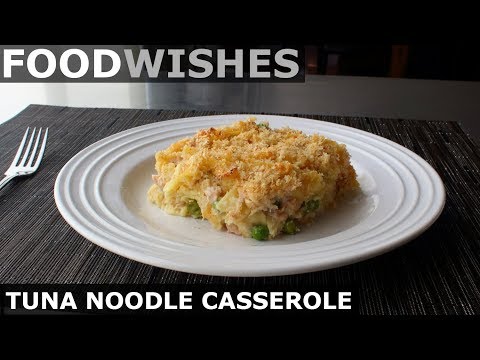
Tuna Noodle Casserole - Food Wishes
Food Wishes
Boston Cream Pie
Preppy Kitchen

Southern Fried Chicken
Smokin' & Grillin with AB
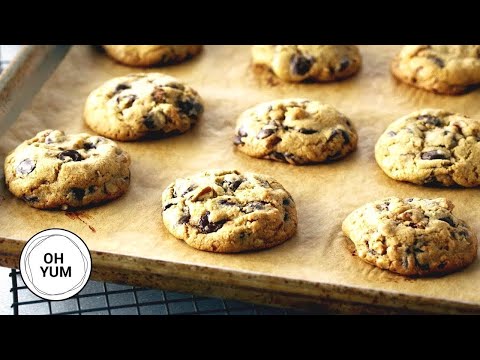
Professional Baker Teaches You How To Make CHOCOLATE CHIP COOKIES!
Oh Yum with Anna Olson

Smoked Shotgun Shells
Meat Church BBQ

Broccoli Cheese Soup
Preppy Kitchen

Broccoli Cheese Soup
Preppy Kitchen
10 Recipes To Sweeten The Holiday Season
Scrumdiddlyumptious
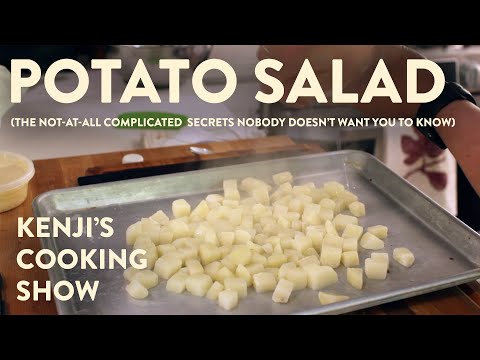
Potato Salad
J. Kenji López-Alt
Peach Cobbler
Preppy Kitchen
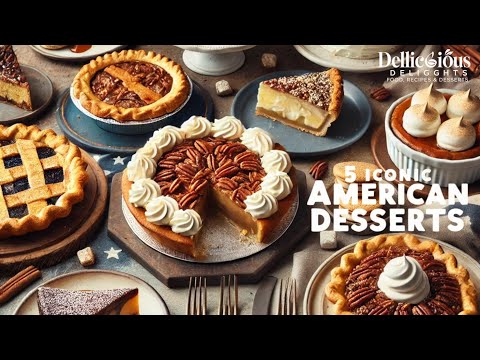
5 Classic American Desserts You Must Try at Home! 🇺🇸🍰 #delicious_delights #dessert
Delicious Delights
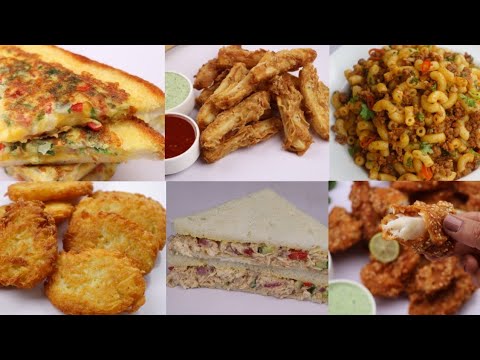
7 Best Kids Lunch Box Recipes By Recipes Of The World
Recipes of the world
Mousse à la pêche par Pierre-Dominique Cécillon pour Larousse Cuisine
LarousseCuisine
Similar Desserts From Other Cuisines
(24 videos)
6 Crazy Easy NO-BAKE Desserts with Just 3 Ingredients (So Fun & Delicious!) | Summer Recipes
Patterson Family Home
Recipe: Summer Berry Terrine (CLOVER)
ExpressoRecipes

German Desserts - 9 Delicious German Desserts That You Need To Try!
German Recipes by All Tastes German
Tiramisu
Preppy Kitchen
#1àZ : MON RIZ AU LAIT
Xavier Pincemin
Recette Riz au lait Gastronomique
Allez on cuisine
Riz au lait au Cookeo
Lili Cuisine
~RIZ AU LAIT vanille ~ dessert allégé en sucre inratable |Recettes & diététique
Recettes & Diététique
Recette culte : Riz au lait de l'Ami Jean - 750g
750g

Riz au lait - saveur d’enfance - au lait végétal -
Mimagusta
Riz au lait de Christophe Michalak
Cuisine en Folie
{Recette Omnicuiseur} Riz au lait
Le Pays des Gourmandises
RECETTE RIZ AU LAIT
Saad Fedda
Le Gâteau yaourt qui a battu tous les records.
Les délices de Maha
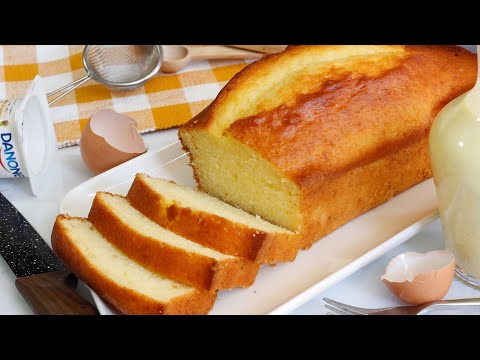
Gâteau au yaourt en 1 minute . Bon et moelleux. Recette facile et rapide
Les délices de Maha
BEIGNETS FRITS Recette facile - Fait maison
kado cuisine
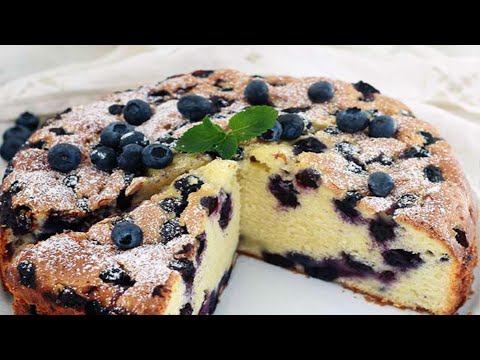
recette de Clafoutis aux cerises ultra moelleux fondant et délicieux / gâteau 🎂 facile
Zahra Inspire La Cuisine
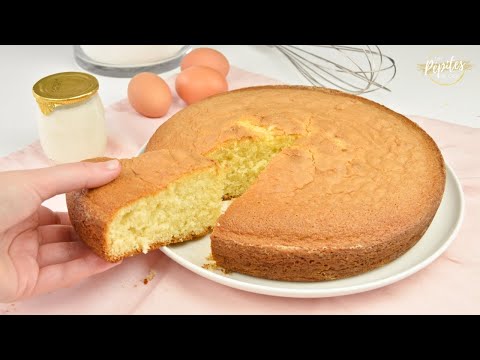
GATEAU AU YAOURT TRES MOELLEUX
Sabrina sabi
GÂTEAU AU YAOURT de Cyril Lignac
Quand Margot pâtisse
Gâteau au yaourt - 10 leçons pour le réussir
Julie Andrieu - Chaîne officielle
Gâteau Au Yaourt Très Moelleux Facile et Rapide🍰
gateau et cuisine Rachida
Le gâteau Yaourt inratable !
Les Pépites de Cloé
Le Gâteau au Yaourt Irrésistible : Un Régal pour les Papilles des Enfants !
1001 Recette
Recette du Gâteau au Yaourt
JustInCooking