How to Make a Danish Kransekage! (Marzipan Wreath Cake)

Recipe Information
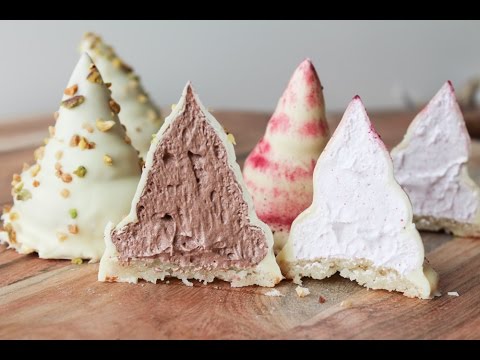
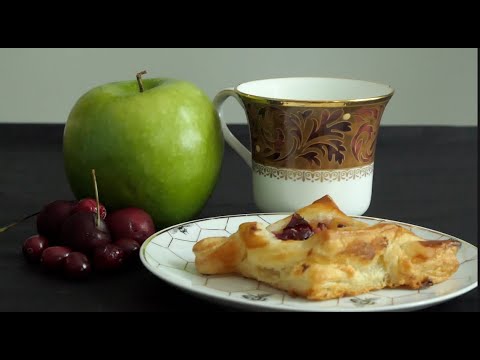
Danish Pastry Wreath
Cultural Context
Danish pastry, known for its flaky layers and rich fillings, has roots in the 19th century when Austrian bakers brought their techniques to Denmark. The Danish Pastry Wreath is a festive treat often served during celebrations and holidays, symbolizing togetherness and joy. Today, variations can be found worldwide, showcasing different fillings and toppings, making it a beloved pastry for many occasions.
heavy cream
🥗Healthier: Greek yogurt
💰Cheaper: milk + cornstarch
Greek yogurt reduces calories while maintaining creaminess
butter
🥗Healthier: coconut oil
💰Cheaper: margarine
Coconut oil is dairy-free and healthier.
almond extract
💰Cheaper: vanilla extract
Vanilla extract is more commonly available.
sliced almonds
🥗Healthier: chopped walnuts
💰Cheaper: sunflower seeds
Sunflower seeds are nut-free and less expensive.
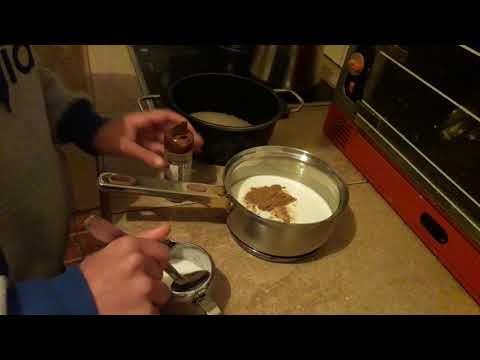
The night before making the Kransekage, mix together 2 cups of almond flour and 1 cup of powdered sugar in a large bowl.
Add 1 teaspoon of almond extract to the mixture.
Start adding egg whites, one tablespoon at a time, mixing in between until combined. The total amount corresponds to about 3 eggs worth.
Cover the dough and let it rest in the fridge overnight.
The next day, prepare a silicone mat for rolling out the dough.
Roll the dough into logs aiming for a thickness of about 1 to 1.5 centimeters in diameter.
Use a stencil to shape the rings, placing parchment paper over the stencil before transferring the log.
Press down on the side closest to you with the palm of your hand to create a triangular top for the ring.
Shape the log around the stencil, ensuring the interior edge follows the outline.
Fix any seams with a little water to smooth them out and ensure evenness.
Continue shaping the rings, moving to smaller sizes as needed, and transfer them to a baking sheet.
Let the rings dry at room temperature for around 20 minutes.
Preheat the oven to 390°F (199°C).
Bake the rings in two batches for about 10 minutes, checking for an even golden color and slightly more golden tops.
Transfer the baked rings to a cooling rack and let them cool for about 1 to 1.5 hours.
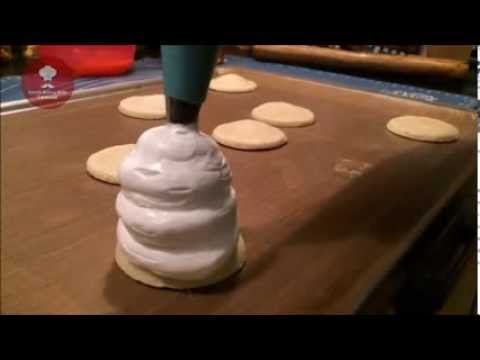
To make the icing, mix powdered sugar with water until thick, then transfer it to a piping bag.
Pipe the icing onto the rings in a zigzag pattern, ensuring the icing is thick to prevent it from running.
Melt a little chocolate to use as glue for stacking the rings.
After the icing has set for about 20 minutes, brush the bottoms of each ring with chocolate and stack them in size order.
Cooking Techniques
Equipment Needed
Spice Level:
🌶️🌶️🌶️Dietary
Allergens
Also Known As
More Danish Pastry Wreath Videos
(2 videos)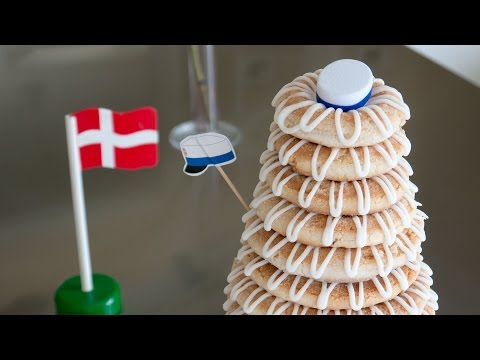

Similar Danish Videos
(24 videos)
How to Make a Lemon Moon | Dansk Citronmåne | Best Danish Cakes
Dining with Alex
🍪 4-Ingredient Danish Butter Cookies — Melt-In-Your-Mouth!
Liu Silka Kitchen

Lemon Frommage, Classic Danish Lemon Dessert
Val's Looney Kitchen
How to make a Danish Lemon Mousse
Dining with Alex
How To Make Jødekager (Danish Butter Cookies, Danish Christmas Cookies) - By One Kitchen Episode 346
One Kitchen - A Thousand Ideas
Traditional Danish rice pudding made simple! Scandinavian food recipe/ 5 ingredients only
5 Ingredients & I
How To Make "Risalamande" - By One Kitchen Episode 347
One Kitchen - A Thousand Ideas
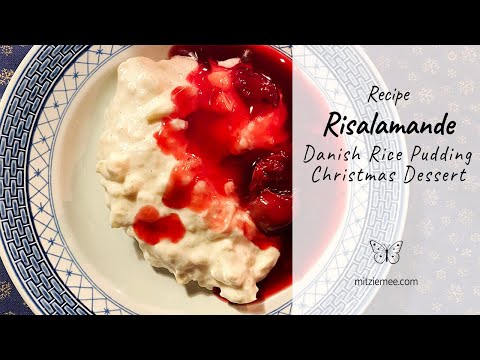
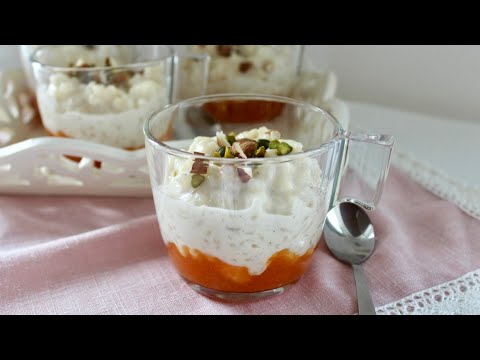
Risalamande - Danish Christmas rice pudding dessert
Mitzie Mee
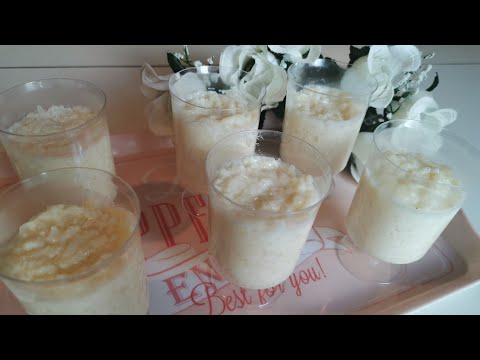
HOW TO MAKE RISALAMANDE A WONDERFUL RICE PUDDING
BIG OGGIE WORLD
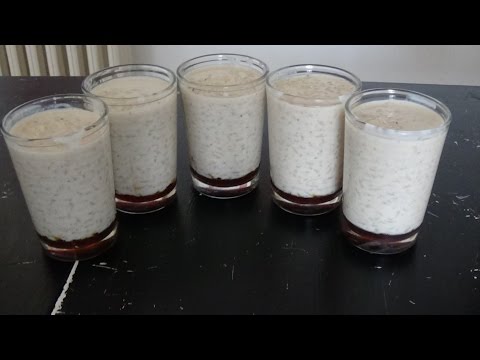
Traditional Danish Risalamande recipe
Food for Change
Risalamande - A Traditional Danish Christmas Dessert
Cookineering
Her er den bedste opskrift på risalamande
Voresmad.dk - Opskrifter og tips med danske råvarer
![[ 북유럽 일상 ] Denmark vlog , 북유럽 레시피, 덴마크 겨울 디저트, Copenhagen vlog, Danish recipe Risalamande](https://img.youtube.com/vi/MGxbIRIqbC0/hqdefault.jpg)
[ 북유럽 일상 ] Denmark vlog , 북유럽 레시피, 덴마크 겨울 디저트, Copenhagen vlog, Danish recipe Risalamande
Nordic diary 노르딕 다이어리

Flødeboller Uden Marcipan - Danish Dream Puffs
Dining with Alex
How To Make Flødeboller (Danish Cake/Dessert) - By One Kitchen Episode 208
One Kitchen - A Thousand Ideas
How Danish Kisses are made
Lars Pach

Flying House:: The Danish Flødeboller
Valentina Fussell

Flødeboller (Danish Marshmallow Puffs)
Scandinavian Cookbook
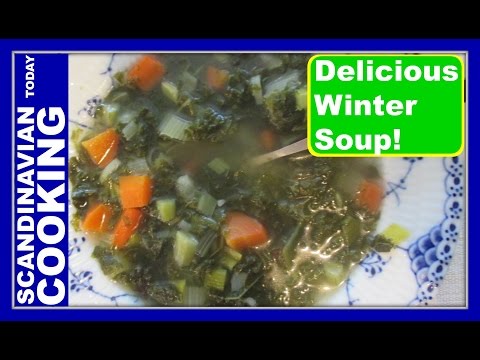
How to Make Kale Soup with Pork - Grønkålssuppe med Svinekød Opskrift
Scandinavian Today
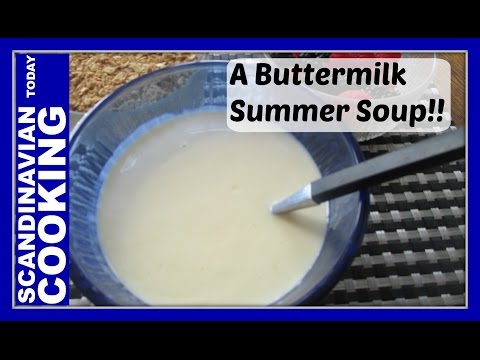
How to make Old Fashion Homemade Buttermilk Summer Dessert Soup or in Danish Kærnemælkskoldskål
Scandinavian Today

Cure Your Sickness With This Chicken Soup
Travel The World

Danish Cuisine - Chicken soup with dumplings and Meatballs (HØNSEKØDSSUPPE)
World Cuisine with Ramesh

Delicious Danish Pastries in 3 flavors
Nate Bakes
How to make Danish Pastries | Pastries with Cream cheese & Fruit Compote | ASMR Baking
Marco Mangiare
Similar Desserts From Other Cuisines
(24 videos)
6 Crazy Easy NO-BAKE Desserts with Just 3 Ingredients (So Fun & Delicious!) | Summer Recipes
Patterson Family Home
Recipe: Summer Berry Terrine (CLOVER)
ExpressoRecipes

Apple Fritter Doughnuts
Laura in the Kitchen
Peanut Butter Cookies
Omar Tellow
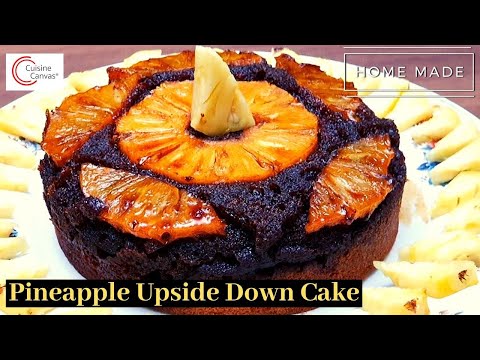
Pineapple Upside Down Cake | New Year Party Recipe | By Ashley Derick MacDonald | For Cuisine Canvas
Cuisine Canvas
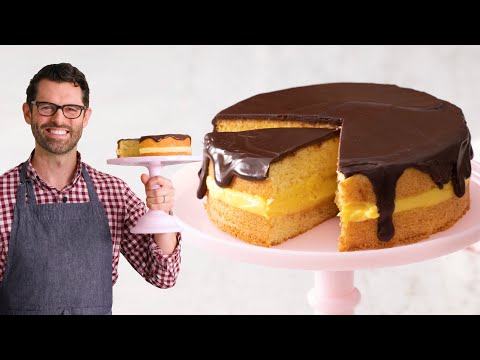
Boston Cream Pie
Preppy Kitchen
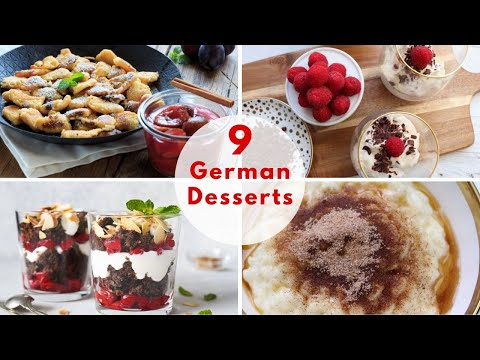
German Desserts - 9 Delicious German Desserts That You Need To Try!
German Recipes by All Tastes German
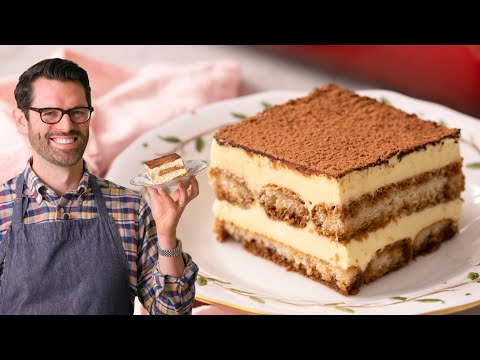
Tiramisu
Preppy Kitchen
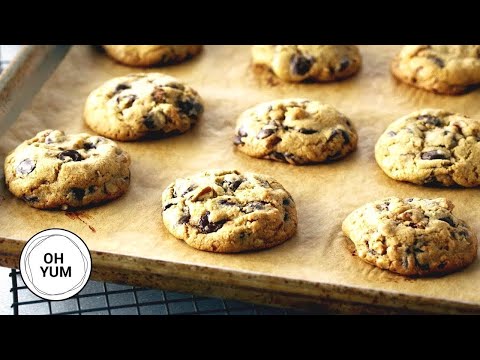
Professional Baker Teaches You How To Make CHOCOLATE CHIP COOKIES!
Oh Yum with Anna Olson

10 Recipes To Sweeten The Holiday Season
Scrumdiddlyumptious
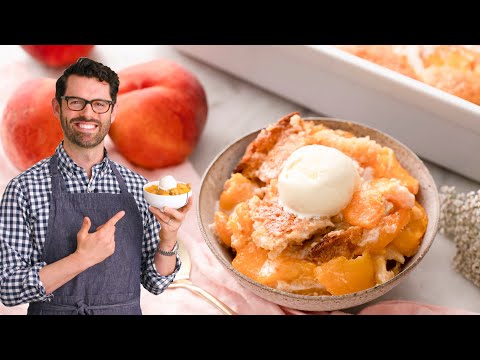
Peach Cobbler
Preppy Kitchen

5 Classic American Desserts You Must Try at Home! 🇺🇸🍰 #delicious_delights #dessert
Delicious Delights
{Recette Omnicuiseur} Riz au lait
Le Pays des Gourmandises
~RIZ AU LAIT vanille ~ dessert allégé en sucre inratable |Recettes & diététique
Recettes & Diététique

Recette Riz au lait Gastronomique
Allez on cuisine
Riz au lait au Cookeo
Lili Cuisine

#1àZ : MON RIZ AU LAIT
Xavier Pincemin
RECETTE RIZ AU LAIT
Saad Fedda
Recette culte : Riz au lait de l'Ami Jean - 750g
750g
Riz au lait - saveur d’enfance - au lait végétal -
Mimagusta
Gâteau au yaourt - 10 leçons pour le réussir
Julie Andrieu - Chaîne officielle
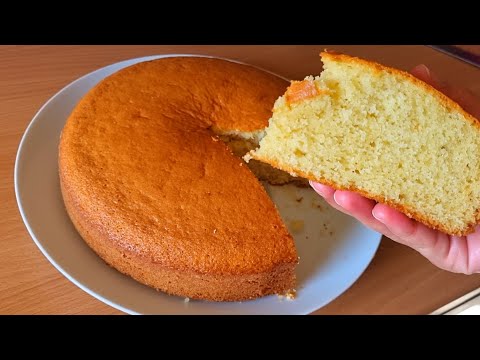
Gâteau au yaourt en 1 minute . Bon et moelleux. Recette facile et rapide
Les délices de Maha
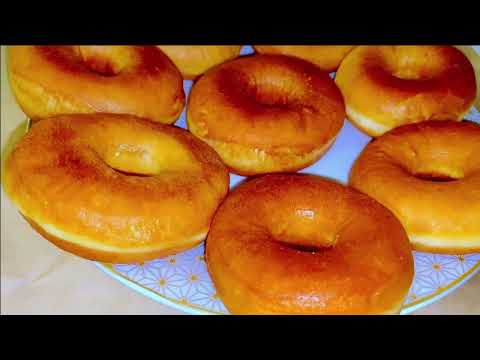
BEIGNETS FRITS Recette facile - Fait maison
kado cuisine
Mousse à la pêche par Pierre-Dominique Cécillon pour Larousse Cuisine
LarousseCuisine