stabilized whipped cream 5 ways

Recipe Information
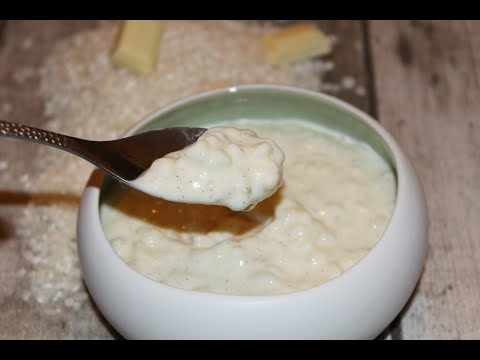
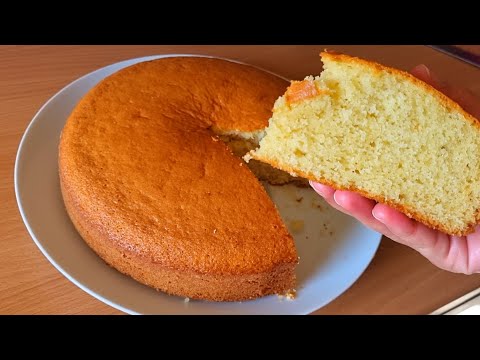
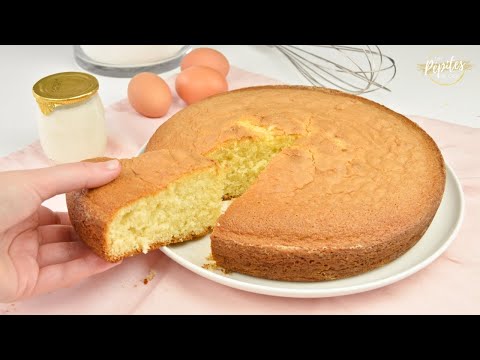
Stabilized Whipped Cream
Cultural Context
Stabilized whipped cream originated in the United States as a way to maintain the texture and form of whipped cream for longer periods, especially in desserts. It's often used for cakes, pies, and pastries, ensuring a perfect presentation. This technique has become popular in home baking and professional kitchens alike, allowing for versatile and lasting whipped cream that can withstand heat and time.
heavy cream
🥗Healthier: coconut cream
💰Cheaper: whipping cream
Coconut cream is dairy-free and lower in calories.
powdered sugar
🥗Healthier: honey
💰Cheaper: granulated sugar
Honey adds sweetness with fewer calories.
gelatin
🥗Healthier: agar-agar
💰Cheaper: none
Agar-agar is a plant-based alternative for vegans.
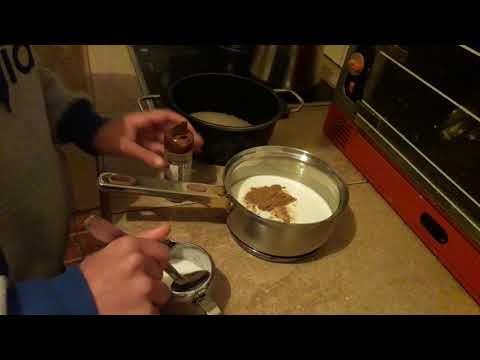
Add 1 tablespoon of gelatin powder into 1/4 cup of cold water and let it absorb for about 5 minutes to bloom.
Stir the gelatin to ensure all dry granules are in contact with water.
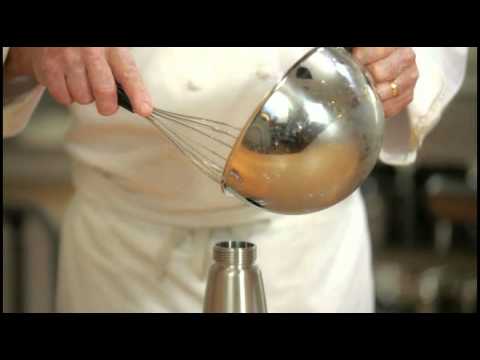
While the gelatin is blooming, prepare the whipped cream by using a cold mixing bowl and cold heavy whipping cream.
Attach the whisk and turn the mixer on to medium speed to whip the cream, keeping an eye on it to prevent curdling.
Once the cream starts to get thick and bubbly, add in 1/4 cup of powdered sugar and continue mixing.
After about 30 seconds of whipping, check for soft peaks, which should show lines on the surface but not stiff peaks.
Add in 1 teaspoon of vanilla extract and mix until soft peaks are reached, being careful not to overmix.
Melt the bloomed gelatin in the microwave for about 10 seconds until clear with no granules.
Stir the melted gelatin into the whipped cream to cool it down and incorporate it better, preventing stringy bits.
Finish mixing on low speed and then by hand to ensure everything is well incorporated.
Use the stabilized whipped cream immediately or store it in the refrigerator for up to a week.
Cooking Techniques
Equipment Needed
Spice Level:
🌶️🌶️🌶️Dietary
Allergens
Also Known As
More Stabilized Whipped Cream Videos
(1 videos)
Similar American Videos
(24 videos)
Batch Prepped SLOW COOKER RECIPES for an easier week
moon + magnolia

Honey Mustard Chicken Recipe
Jen Cooking
Steamed Zucchini - Bravo Charlie's Episode 23
Charlie Moore

How to make MACARONI SALAD by Kelly Henry #macaronisalad #pastarecipes #veggierecipes
Kelly's Kuisine

Dorito Taco Salad -- Throwback Video Series
Southern Country Living

Sausage Hash Brown Breakfast Casserole
Smokin' & Grillin with AB

Apple Fritter Doughnuts
Laura in the Kitchen

Crab Bisque
Dirty Spoons
Apple Cranberry Pecan Salad
Arabesque Media
Peanut Butter Cookies
Omar Tellow

Pineapple Upside Down Cake | New Year Party Recipe | By Ashley Derick MacDonald | For Cuisine Canvas
Cuisine Canvas

Tuna Noodle Casserole - Food Wishes
Food Wishes

Boston Cream Pie
Preppy Kitchen

Southern Fried Chicken
Smokin' & Grillin with AB
Professional Baker Teaches You How To Make CHOCOLATE CHIP COOKIES!
Oh Yum with Anna Olson

Smoked Shotgun Shells
Meat Church BBQ

Broccoli Cheese Soup
Preppy Kitchen

Broccoli Cheese Soup
Preppy Kitchen

10 Recipes To Sweeten The Holiday Season
Scrumdiddlyumptious

Potato Salad
J. Kenji López-Alt

Peach Cobbler
Preppy Kitchen

5 Classic American Desserts You Must Try at Home! 🇺🇸🍰 #delicious_delights #dessert
Delicious Delights

7 Best Kids Lunch Box Recipes By Recipes Of The World
Recipes of the world
Mousse à la pêche par Pierre-Dominique Cécillon pour Larousse Cuisine
LarousseCuisine
Similar Desserts From Other Cuisines
(24 videos)
6 Crazy Easy NO-BAKE Desserts with Just 3 Ingredients (So Fun & Delicious!) | Summer Recipes
Patterson Family Home
Recipe: Summer Berry Terrine (CLOVER)
ExpressoRecipes

German Desserts - 9 Delicious German Desserts That You Need To Try!
German Recipes by All Tastes German

Tiramisu
Preppy Kitchen
~RIZ AU LAIT vanille ~ dessert allégé en sucre inratable |Recettes & diététique
Recettes & Diététique
{Recette Omnicuiseur} Riz au lait
Le Pays des Gourmandises
Riz au lait de Christophe Michalak
Cuisine en Folie

#1àZ : MON RIZ AU LAIT
Xavier Pincemin
Riz au lait au Cookeo
Lili Cuisine

Recette Riz au lait Gastronomique
Allez on cuisine

Riz au lait - saveur d’enfance - au lait végétal -
Mimagusta
Recette culte : Riz au lait de l'Ami Jean - 750g
750g
RECETTE RIZ AU LAIT
Saad Fedda

recette de Clafoutis aux cerises ultra moelleux fondant et délicieux / gâteau 🎂 facile
Zahra Inspire La Cuisine
Gâteau au yaourt en 1 minute . Bon et moelleux. Recette facile et rapide
Les délices de Maha

BEIGNETS FRITS Recette facile - Fait maison
kado cuisine
Gâteau au yaourt - 10 leçons pour le réussir
Julie Andrieu - Chaîne officielle
Recette du gâteau au yaourt moelleux et très facile ! 🍰
Clément Food

gâteau au yaourt avec quelques astuces qui feront la différence
Oum Arwa
gâteau aux pommes super moelleux 🍎
Nadja Cook
Le gâteau Yaourt inratable !
Les Pépites de Cloé
Recette du Gâteau au Yaourt
JustInCooking
Le Gâteau au Yaourt Irrésistible : Un Régal pour les Papilles des Enfants !
1001 Recette

GATEAU AU YAOURT TRES MOELLEUX
Sabrina sabi