How To Stack A Tier Cake
Recipe Information
Tier Cake
Cultural Context
The tier cake, often referred to as a layer cake, has its roots in American baking traditions, where it became a symbol of celebration during the 19th century. These cakes are commonly served at weddings, birthdays, and other festive occasions, showcasing the baker's skill and creativity. Today, tier cakes are popular globally, with various regional adaptations and flavors, making them a staple for special events.
Quantities are estimated based on standard recipes for your convenience. The actual ingredients used in this video are accurate.
cream cheese
🥗Healthier: Greek yogurt
💰Cheaper: ricotta cheese
Greek yogurt reduces calories while maintaining creaminess
heavy cream
🥗Healthier: coconut cream
💰Cheaper: whipping cream
Coconut cream is dairy-free and adds a unique flavor.
unsalted butter
🥗Healthier: applesauce
💰Cheaper: margarine
Applesauce reduces fat while keeping moisture.
cake flour
🥗Healthier: whole wheat flour
💰Cheaper: all-purpose flour
Whole wheat flour adds fiber, while all-purpose is more economical.
Start by layering your cakes, beginning with the top tiers to allow them to set before stacking.
Use a cake board the same size as each cake; for example, a six inch cake on a six inch cake board.
Attach the first layer of cake to the cake board with a dollop of buttercream.
Alternate layers of cake and filling, ensuring the layers are level by trimming the tops with a serrated knife.
Spin the cake on a turntable to check for straightness as you place each layer down.
Press down on the cake after adding each layer to prevent filling from oozing out later.
Chill the assembled cake in the fridge for an hour or in the freezer for half an hour while assembling the next cake.
Build the bottom tier directly onto the display board, which should be at least 4 inches larger than the bottom cake.
Use a thicker cake board (cake drum) for the bottom tier to support the weight of the cakes above.
Ensure all cake layers are level and straight as you assemble.
Chill the cake while frosting the other cakes, if applicable.
Attach the smaller cake board to a larger one using masking tape for easy removal later.
Frost the cake with a crumb coat to trap crumbs, making it easier to apply the final coat of frosting.
Aim for straight sides and a level top with the crumb coat, which doesn't need to be perfect.
Cover all cakes with crumb coats followed by final coats of frosting, using an offset spatula or frosting smoother for sharp edges.
Add decorations to the cake at this stage or after assembly.
Create a support structure using straws or dowels for stacking the tiers.
Push the first support into the bottom tier until it hits the board, then mark and cut it to the correct height.
Line up additional supports against the first one, ensuring they are the same height.
Use boba straws for added strength, cutting them with scissors to size.
Trace around the next cake's board on the top of the bottom cake to mark where to place supports.
Insert supports into the cake, ensuring they are straight and evenly spaced.
Chill the cake before stacking to ensure the frosting is firm and the filling is set.
Loosen the next cake from its board with an offset spatula and remove any masking tape used.
Spread fresh buttercream on the bottom cake to create a sticky surface before lowering the next tier on top.
Repeat the process for additional tiers, measuring and cutting supports as necessary.
Pipe buttercream around the bottom of the cakes to cover the joins between tiers, using a piping bag with a round tip.
Smooth the frosting with a frosting smoother, filling in gaps and creating a neat finish between the tiers.
Choose the prettiest side of the cake to be the front and start decorating.
Cooking Techniques
Equipment Needed
Spice Level:
🌶️🌶️🌶️Dietary
Allergens
Also Known As
Similar American Videos
(24 videos)
Batch Prepped SLOW COOKER RECIPES for an easier week
moon + magnolia

Honey Mustard Chicken Recipe
Jen Cooking
Steamed Zucchini - Bravo Charlie's Episode 23
Charlie Moore
How to make MACARONI SALAD by Kelly Henry #macaronisalad #pastarecipes #veggierecipes
Kelly's Kuisine

Dorito Taco Salad -- Throwback Video Series
Southern Country Living
Sausage Hash Brown Breakfast Casserole
Smokin' & Grillin with AB

Apple Fritter Doughnuts
Laura in the Kitchen

Crab Bisque
Dirty Spoons
Apple Cranberry Pecan Salad
Arabesque Media
Peanut Butter Cookies
Omar Tellow
Pineapple Upside Down Cake | New Year Party Recipe | By Ashley Derick MacDonald | For Cuisine Canvas
Cuisine Canvas
Tuna Noodle Casserole - Food Wishes
Food Wishes
Boston Cream Pie
Preppy Kitchen

Southern Fried Chicken
Smokin' & Grillin with AB
Professional Baker Teaches You How To Make CHOCOLATE CHIP COOKIES!
Oh Yum with Anna Olson

Smoked Shotgun Shells
Meat Church BBQ

Broccoli Cheese Soup
Preppy Kitchen

Broccoli Cheese Soup
Preppy Kitchen

10 Recipes To Sweeten The Holiday Season
Scrumdiddlyumptious
Potato Salad
J. Kenji López-Alt
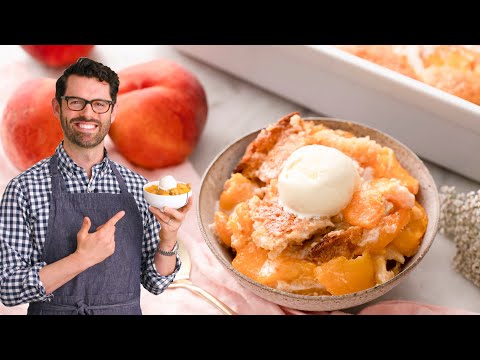
Peach Cobbler
Preppy Kitchen

5 Classic American Desserts You Must Try at Home! 🇺🇸🍰 #delicious_delights #dessert
Delicious Delights
7 Best Kids Lunch Box Recipes By Recipes Of The World
Recipes of the world
Mousse à la pêche par Pierre-Dominique Cécillon pour Larousse Cuisine
LarousseCuisine
Similar Desserts From Other Cuisines
(24 videos)
6 Crazy Easy NO-BAKE Desserts with Just 3 Ingredients (So Fun & Delicious!) | Summer Recipes
Patterson Family Home
Recipe: Summer Berry Terrine (CLOVER)
ExpressoRecipes
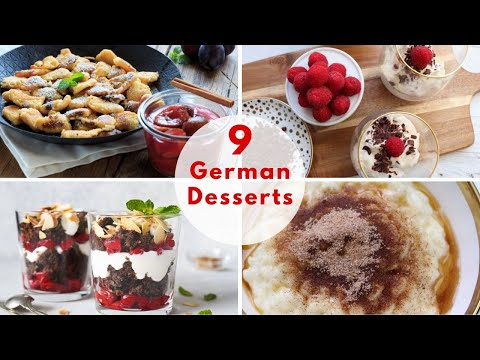
German Desserts - 9 Delicious German Desserts That You Need To Try!
German Recipes by All Tastes German
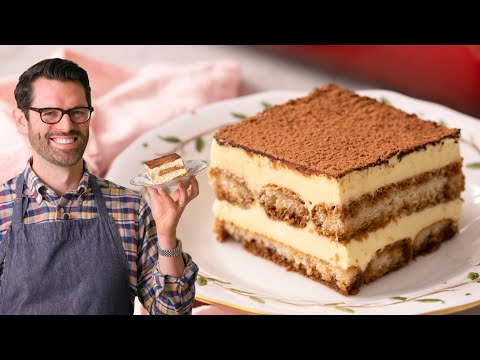
Tiramisu
Preppy Kitchen
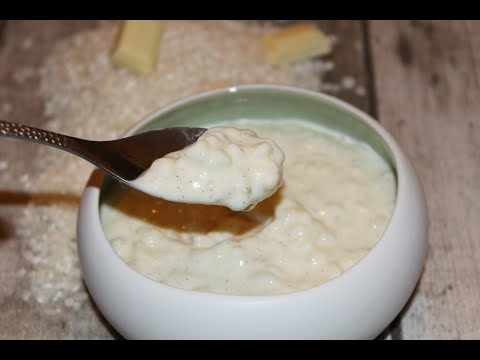
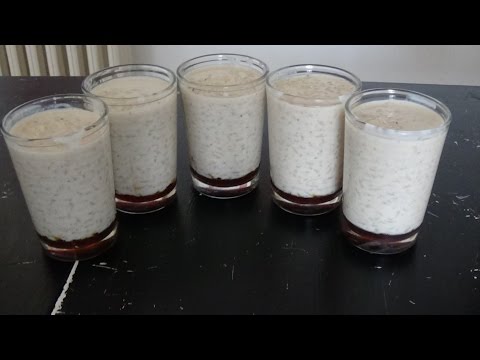
RECETTE RIZ AU LAIT
Saad Fedda
Riz au lait de Christophe Michalak
Cuisine en Folie

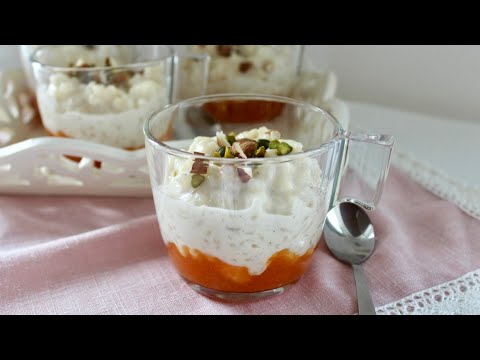
Riz au lait - saveur d’enfance - au lait végétal -
Mimagusta
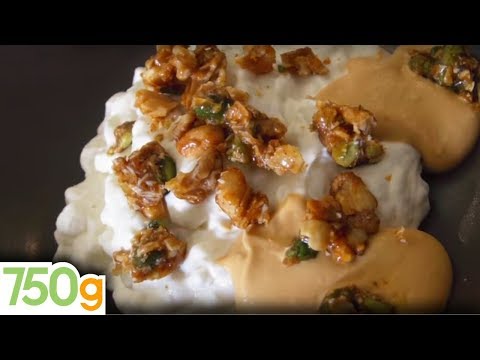
Recette culte : Riz au lait de l'Ami Jean - 750g
750g
{Recette Omnicuiseur} Riz au lait
Le Pays des Gourmandises
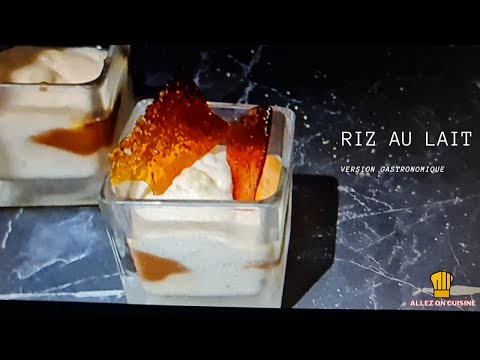
Recette Riz au lait Gastronomique
Allez on cuisine

#1àZ : MON RIZ AU LAIT
Xavier Pincemin
~RIZ AU LAIT vanille ~ dessert allégé en sucre inratable |Recettes & diététique
Recettes & Diététique
Riz au lait au Cookeo
Lili Cuisine
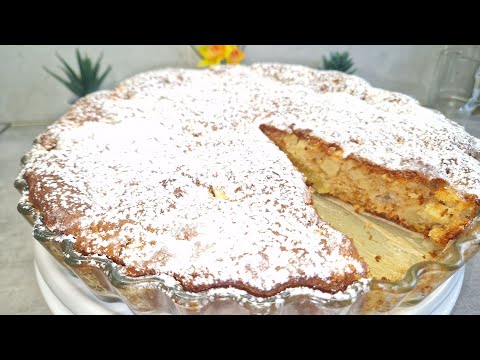
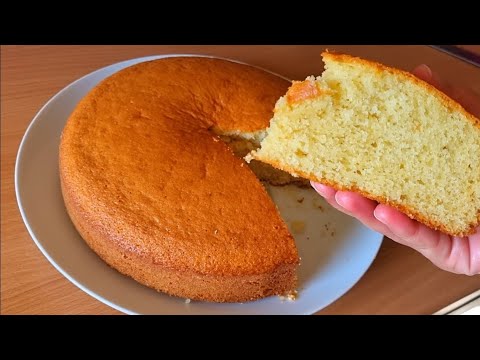
gâteau aux pommes super moelleux 🍎
Nadja Cook
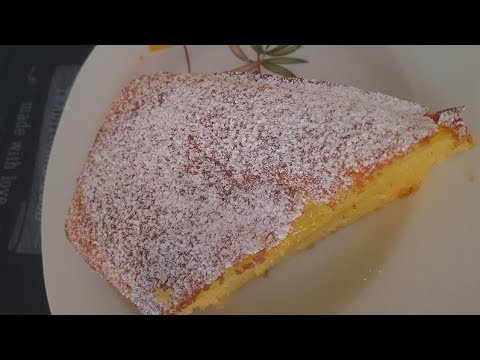
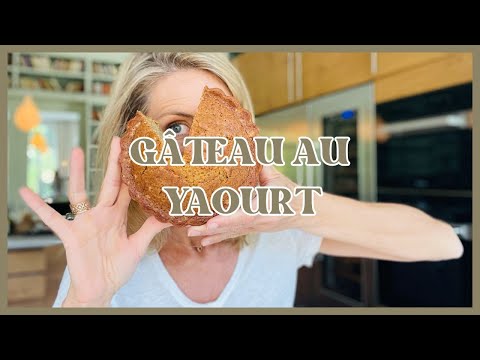
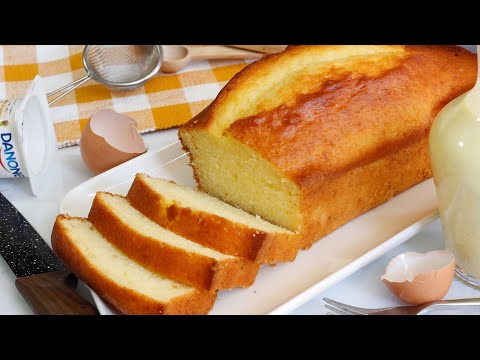
gâteau au yaourt avec quelques astuces qui feront la différence
Oum Arwa
GATEAU AU YAOURT TRES MOELLEUX
Sabrina sabi
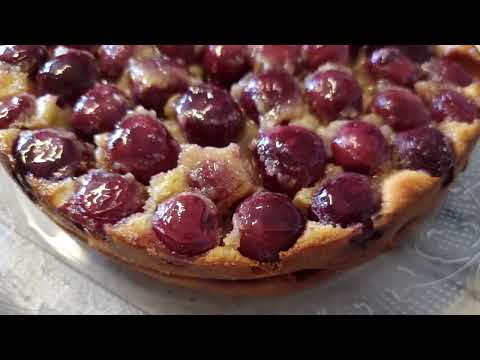
recette de Clafoutis aux cerises ultra moelleux fondant et délicieux / gâteau 🎂 facile
Zahra Inspire La Cuisine
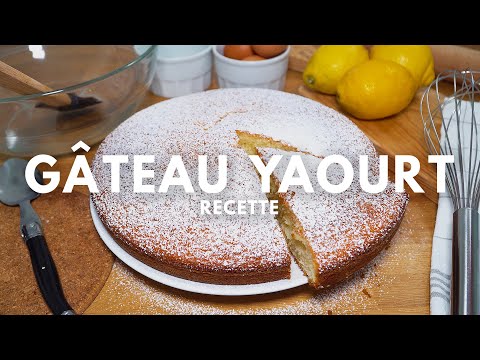
Le Gâteau yaourt qui a battu tous les records.
Les délices de Maha
Recette du gâteau au yaourt moelleux et très facile ! 🍰
Clément Food
Gâteau au yaourt - 10 leçons pour le réussir
Julie Andrieu - Chaîne officielle
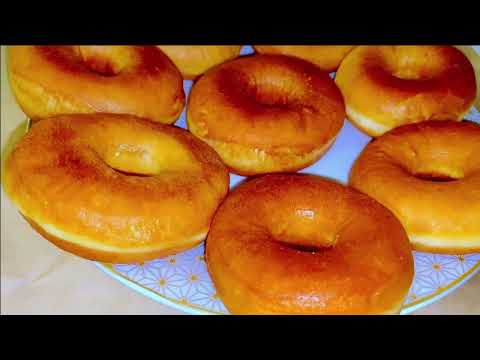
BEIGNETS FRITS Recette facile - Fait maison
kado cuisine
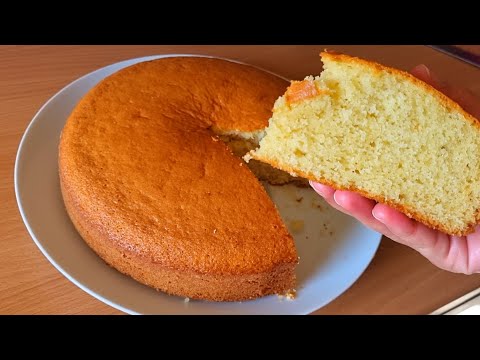
Gâteau au yaourt en 1 minute . Bon et moelleux. Recette facile et rapide
Les délices de Maha
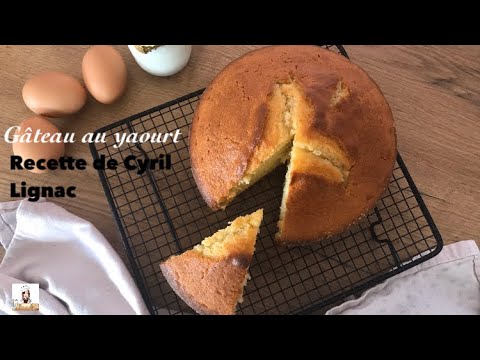
GÂTEAU AU YAOURT de Cyril Lignac
Quand Margot pâtisse
Gâteau Au Yaourt Très Moelleux Facile et Rapide🍰
gateau et cuisine Rachida