How To Make Homemade Chocolate Bars

Recipe Information
Homemade Chocolate Bars
Cultural Context
Chocolate bars have a rich history, originating from ancient Mesoamerican cultures where cacao was revered. Today, making chocolate bars at home allows for creativity and customization, catering to personal tastes and dietary needs. With the rise of artisanal and homemade confections, many people enjoy crafting their own chocolate bars, experimenting with flavors and textures to create unique treats.
Quantities are estimated based on standard recipes for your convenience. The actual ingredients used in this video are accurate.
dark chocolate
🥗Healthier: cacao nibs
💰Cheaper: semi-sweet chocolate chips
Cacao nibs provide a richer flavor with less sugar.
milk chocolate
🥗Healthier: dark chocolate
💰Cheaper: chocolate chips
Dark chocolate has less sugar and more antioxidants.
white chocolate
🥗Healthier: yogurt chips
💰Cheaper: vanilla baking chips
Yogurt chips are lower in calories and provide a tangy flavor.
nuts
🥗Healthier: seeds
💰Cheaper: sunflower seeds
Seeds are often less expensive and nut-free.
Start by making the filling with dark chocolate buttons and heavy cream.
Microwave the mixture for 30 seconds, stir, then microwave for another 20 seconds until melted and combined.
Add desiccated coconut to the melted chocolate and stir to combine, then set aside.
Prepare white chocolate by adding Kofa (coconut oil) to prevent seizing.
Add a drop each of gel food colors (electric green) to the white chocolate and mix until combined.
Decorate the chocolate mold with edible gold dust using a blush brush, applying it randomly.
Spoon white chocolate into the mold, aiming for the gold dust areas for contrast.
Fill in the mold with other colors, ensuring even distribution and no excessive green in one area.
Tap the mold on the counter to remove excess chocolate and air bubbles, then scrape off the excess with a bench scraper.
Set the mold in the fridge until hard, then add about 3 tablespoons of the filling into the mold, spreading it evenly.
Cover the filling with more chocolate, ensuring to spread it above the sides and eliminate air pockets.
Return the mold to the fridge for another 10 minutes to set.
Once set, tap the mold upside down to release the chocolate; if it doesn't come out, let it rest longer in the fridge.
Use a spatula to clean up the sides of the chocolate bar, removing any excess chocolate.
Wrap the chocolate bar in aluminum foil, creasing and scoring it for a neat finish.
Seal the foil with non-toxic double-sided adhesive and attach a logo if desired.
Cooking Techniques
Equipment Needed
Spice Level:
🌶️🌶️🌶️Dietary
Allergens
Also Known As
Similar Confectionery Videos
(24 videos)
Batch Prepped SLOW COOKER RECIPES for an easier week
moon + magnolia

Honey Mustard Chicken Recipe
Jen Cooking
Steamed Zucchini - Bravo Charlie's Episode 23
Charlie Moore

How to make MACARONI SALAD by Kelly Henry #macaronisalad #pastarecipes #veggierecipes
Kelly's Kuisine

Dorito Taco Salad -- Throwback Video Series
Southern Country Living
Sausage Hash Brown Breakfast Casserole
Smokin' & Grillin with AB

Apple Fritter Doughnuts
Laura in the Kitchen

Crab Bisque
Dirty Spoons
Apple Cranberry Pecan Salad
Arabesque Media
Peanut Butter Cookies
Omar Tellow

Pineapple Upside Down Cake | New Year Party Recipe | By Ashley Derick MacDonald | For Cuisine Canvas
Cuisine Canvas

Tuna Noodle Casserole - Food Wishes
Food Wishes

Boston Cream Pie
Preppy Kitchen

Southern Fried Chicken
Smokin' & Grillin with AB
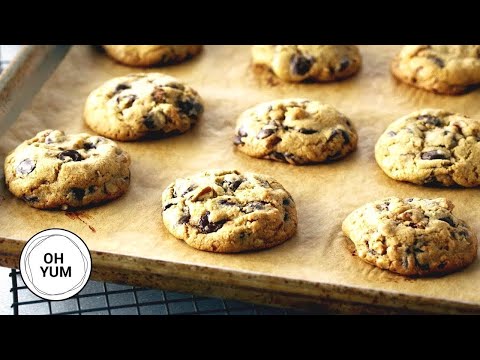
Professional Baker Teaches You How To Make CHOCOLATE CHIP COOKIES!
Oh Yum with Anna Olson

Smoked Shotgun Shells
Meat Church BBQ

Broccoli Cheese Soup
Preppy Kitchen

Broccoli Cheese Soup
Preppy Kitchen
10 Recipes To Sweeten The Holiday Season
Scrumdiddlyumptious
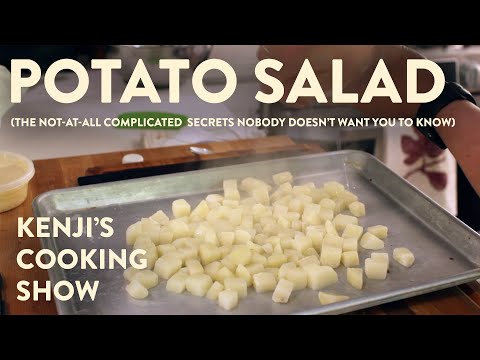
Potato Salad
J. Kenji López-Alt

Peach Cobbler
Preppy Kitchen

5 Classic American Desserts You Must Try at Home! 🇺🇸🍰 #delicious_delights #dessert
Delicious Delights

7 Best Kids Lunch Box Recipes By Recipes Of The World
Recipes of the world
Mousse à la pêche par Pierre-Dominique Cécillon pour Larousse Cuisine
LarousseCuisine
Similar Desserts From Other Cuisines
(15 videos)
6 Crazy Easy NO-BAKE Desserts with Just 3 Ingredients (So Fun & Delicious!) | Summer Recipes
Patterson Family Home
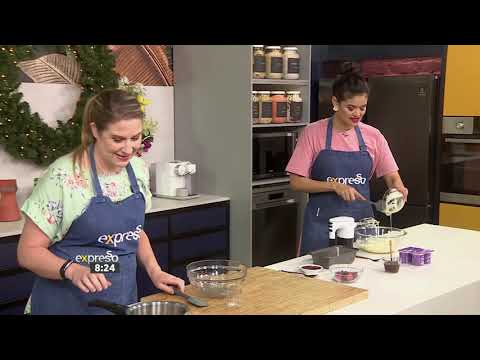
Recipe: Summer Berry Terrine (CLOVER)
ExpressoRecipes

German Desserts - 9 Delicious German Desserts That You Need To Try!
German Recipes by All Tastes German
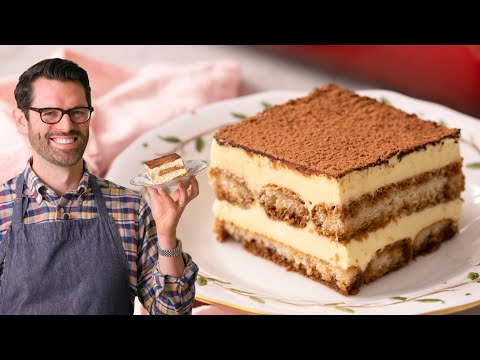
Tiramisu
Preppy Kitchen
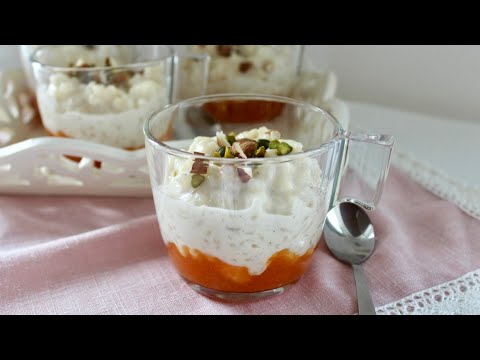
RECETTE RIZ AU LAIT
Saad Fedda

Riz au lait - saveur d’enfance - au lait végétal -
Mimagusta
{Recette Omnicuiseur} Riz au lait
Le Pays des Gourmandises
Recette culte : Riz au lait de l'Ami Jean - 750g
750g
~RIZ AU LAIT vanille ~ dessert allégé en sucre inratable |Recettes & diététique
Recettes & Diététique

#1àZ : MON RIZ AU LAIT
Xavier Pincemin
Riz au lait au Cookeo
Lili Cuisine

Recette Riz au lait Gastronomique
Allez on cuisine
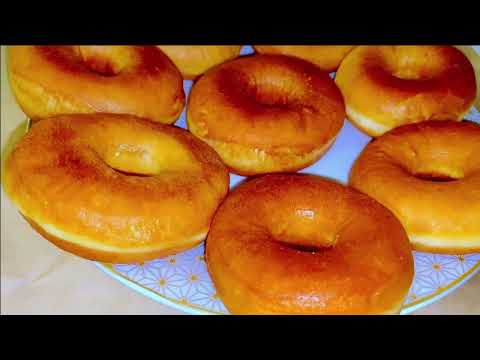
BEIGNETS FRITS Recette facile - Fait maison
kado cuisine
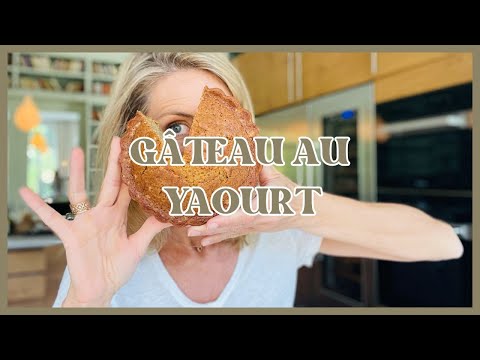
Gâteau au yaourt - 10 leçons pour le réussir
Julie Andrieu - Chaîne officielle
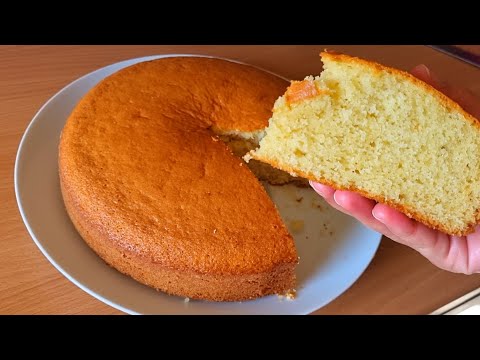
Gâteau au yaourt en 1 minute . Bon et moelleux. Recette facile et rapide
Les délices de Maha