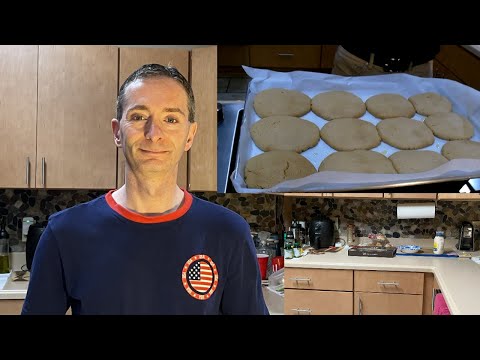
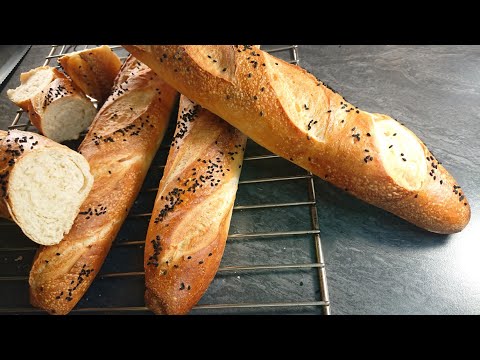
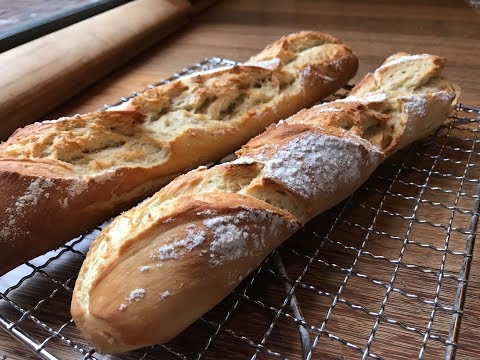
I Did Less… and This Rustic Artisan Bread Turned Out Perfect.

Recipe Information
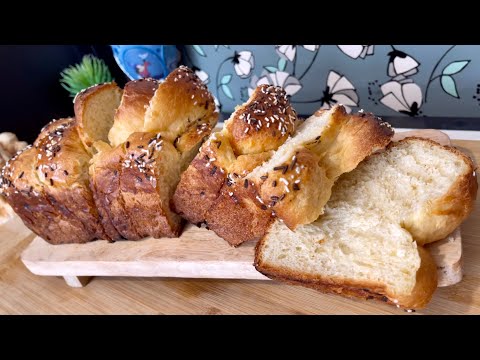
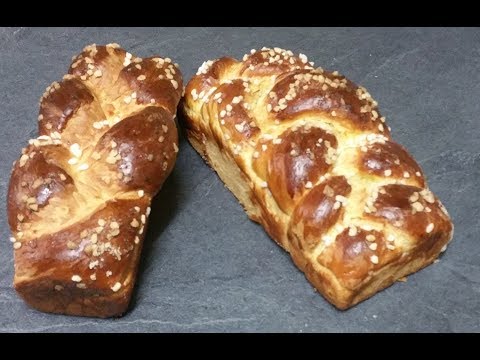
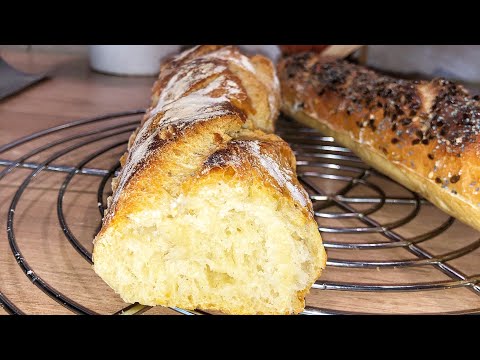
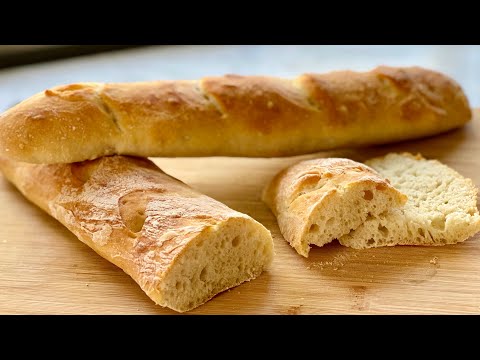
Rustic Artisan Bread
Cultural Context
Rustic artisan bread has its roots in traditional European baking, particularly in France and Italy, where bread was often made with simple ingredients and allowed to rise naturally. This method celebrates the art of slow fermentation, yielding a crusty exterior and soft, airy interior. Today, it is cherished by home bakers and professional chefs alike, often enjoyed with meals or as a standalone snack.
bread flour
🥗Healthier: whole wheat flour
💰Cheaper: all-purpose flour
Whole wheat flour adds fiber and nutrients, while all-purpose flour is more affordable.
sourdough starter
🥗Healthier: store-bought sourdough starter
💰Cheaper: yeast
Store-bought starters are convenient, while yeast is cheaper for quick rises.
olive oil
🥗Healthier: avocado oil
💰Cheaper: vegetable oil
Avocado oil is healthier, while vegetable oil is a budget-friendly option.
Start with 290 g of water (about 10.25 oz) and use normal tap water unless your kitchen is cold, in which case use lukewarm water.
Add 1 teaspoon (around 3 g) of yeast to the water. If your kitchen is very cold, you can increase the yeast to 1 and 1/2 teaspoons.
Add extra virgin olive oil (optional) for flavor and softness.
Mix the water, yeast, and olive oil together and set aside.
Weigh 360 g of bread flour (about 12.7 oz) and add it to a large mixing bowl.
Add 1 teaspoon (around 5 g) of salt to the flour.
Pour the yeast mixture into the flour and mix until the dough is very sticky and no dry flour remains. Adjust the texture by adding flour or water as needed.
Cover the bowl and let the dough rest for 1 hour to allow the flour to hydrate.
Perform the first stretch and fold, then cover and let the dough rest for 45 minutes.
After 45 minutes, perform the second stretch and fold, then cover and let it rest for another 45 minutes.
After the second rest, perform the third stretch and fold.
Finish with a few coil folds to build gluten without kneading.
Divide the dough into five pieces for shaping, but adjust based on your preference.
Lightly spray the dough with canola spray to prevent sticking while shaping.
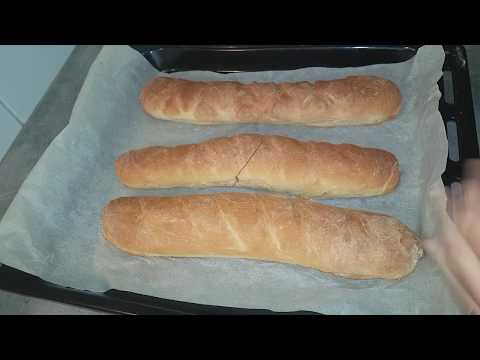
Dust the surface with flour if needed, and shape the dough into rustic forms, leaving uneven edges for a crispy texture.
Arrange the shaped dough on a baking tray seam side up, leaving space between each piece.
Cover the dough and let it proof for 20 to 25 minutes.
Preheat the oven to 230° C (446° F).
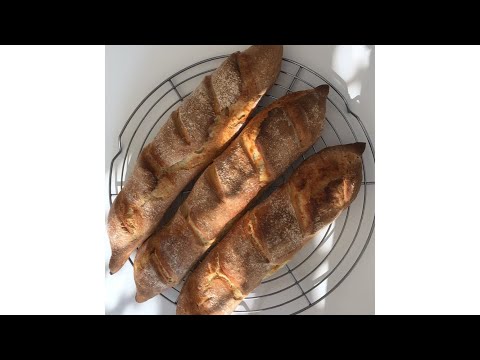
After proofing, lightly dust the top of the dough with flour and make a clean cut across the top with a sharp knife or bread lame.
Spray a little water inside the baking tray before baking to create steam.
Cover the bread and bake for the first 25 minutes, then remove the cover and bake for another 20 minutes, adjusting the time based on desired crust color.
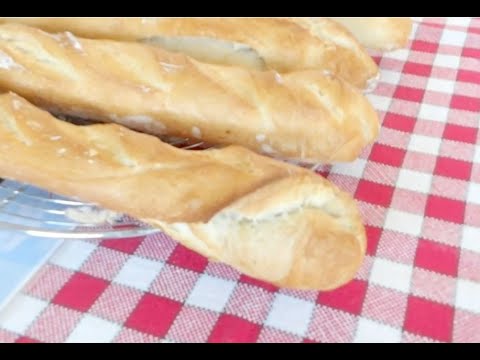
Remove the bread from the oven and let it cool before slicing.
Cooking Techniques
Equipment Needed
Spice Level:
🌶️🌶️🌶️Allergens
Also Known As
Similar American Videos
(24 videos)
Batch Prepped SLOW COOKER RECIPES for an easier week
moon + magnolia

Honey Mustard Chicken Recipe
Jen Cooking
Steamed Zucchini - Bravo Charlie's Episode 23
Charlie Moore

How to make MACARONI SALAD by Kelly Henry #macaronisalad #pastarecipes #veggierecipes
Kelly's Kuisine

Dorito Taco Salad -- Throwback Video Series
Southern Country Living
Sausage Hash Brown Breakfast Casserole
Smokin' & Grillin with AB

Apple Fritter Doughnuts
Laura in the Kitchen

Crab Bisque
Dirty Spoons
Apple Cranberry Pecan Salad
Arabesque Media
Peanut Butter Cookies
Omar Tellow

Pineapple Upside Down Cake | New Year Party Recipe | By Ashley Derick MacDonald | For Cuisine Canvas
Cuisine Canvas

Tuna Noodle Casserole - Food Wishes
Food Wishes

Boston Cream Pie
Preppy Kitchen

Southern Fried Chicken
Smokin' & Grillin with AB
Professional Baker Teaches You How To Make CHOCOLATE CHIP COOKIES!
Oh Yum with Anna Olson

Smoked Shotgun Shells
Meat Church BBQ

Broccoli Cheese Soup
Preppy Kitchen

Broccoli Cheese Soup
Preppy Kitchen
10 Recipes To Sweeten The Holiday Season
Scrumdiddlyumptious

Potato Salad
J. Kenji López-Alt

Peach Cobbler
Preppy Kitchen

5 Classic American Desserts You Must Try at Home! 🇺🇸🍰 #delicious_delights #dessert
Delicious Delights

7 Best Kids Lunch Box Recipes By Recipes Of The World
Recipes of the world
Mousse à la pêche par Pierre-Dominique Cécillon pour Larousse Cuisine
LarousseCuisine
Similar Recipes From Other Cuisines
(24 videos)
Mayonnaise Recipe | How to make Mayonnaise
Recipes by Carina
✅NIGERIAN WHOLE WHEAT BREAD RECIPE(100%)| NIGERIAN BROWN BREAD| NIGERIAN BREAD RECIPE
Queenvarieties Channel

Avocado Toast
Cooking with Coit
recette Brioche maison facile
douja monde
Boulangerie - La pâte à brioche
BaKnutt
Simplement la recette de ma brioche maison Francine.
Choumchoumnass.🌹

La Brioche parfaite. Ma recette de brioche à la maison super facile pas à pas .
Boulangerie Pas à pas

Recette de Brioche maison moelleuse sans Robot !#brioche # brioche maison
Cooking by Nissou
Brioche extra moelleuse au Thermomix ® "recette facile"
Gourmandise et plaisir

RECETTE INRATABLE | BRIOCHE MAISON | Pour les nuls en brioche, comme moi !
Eloë 🌸

Recette de la tradition - la baguette comme à la boulangerie
Tziganette
Baguette express et INRATABLE
Marjosamira Cook
🥖 BAGUETTE MAISON SANS PÉTRISSAGE/ROBOT/MOULE 🥖 la recette express et inratable. Deli Cuisine
Deli Cuisine

RECETTE FACILE LES BAGUETTES CROUSTILLANTES FAITE MAISON
Casa Bena Cuisine
BAGUETTE TRES SIMPLE ET RAPIDE
Sabrina sabi
🥖Baguettes homemade croustillantes/mie aérée🥖
Selen Kaymaz
RECETTE BAGUETTE MAISON : LA MEILLEUR :)
Nora

Baguette 1heure. 100%maison 100% rapide et facile.
Made'moizelle Cloé
4 petites baguettes maisons à la main dans votre four
Jean Lépine
Baguettes fait maison
cuisine et régal
Comment faire une baguette ?
VCE French - Pierrick Hubert

RECETTE ORIGINALE DES CROISSANTS MAISON, PAINS AU CHOCOLAT, CHOCOLATINES AU BEURRE, FACILE, ASTUCES
PAPA GÂTEAUX

Croissants simples
Recette Chef Latifa الشيف لطيفة

🥐 Croissant 🥐Thermomix faits maison facile! 👍- Préparation pâte feuilletée pliage portefeuille Tuto
Antoine Minart